Installing LAMP on UBUNTU
Ubuntu is a great operating system if you really know how to work with it, for using it effectively you need to a linux lover first. Some people love and some don’t as it’s all about the individual choice but if you ask me about it I will always suggest you to stick with this operating system, specially when you belongs to IT background and also a developer or programmer.
Discussions apart, let me come to the main topic which is installing LAMP on UBUNTU, somewhere it is easy and some where it is the most hectic process also if you get stuck somewhere in the installation procedure. Although it’s a very simple process if each and every thing is followed as it should be.
So here I am going to show you some quick steps to install LAMP on UBUNTU and also the configuration changes of the LAMP which are needed to be done at the very initial time of LAMP configuration.
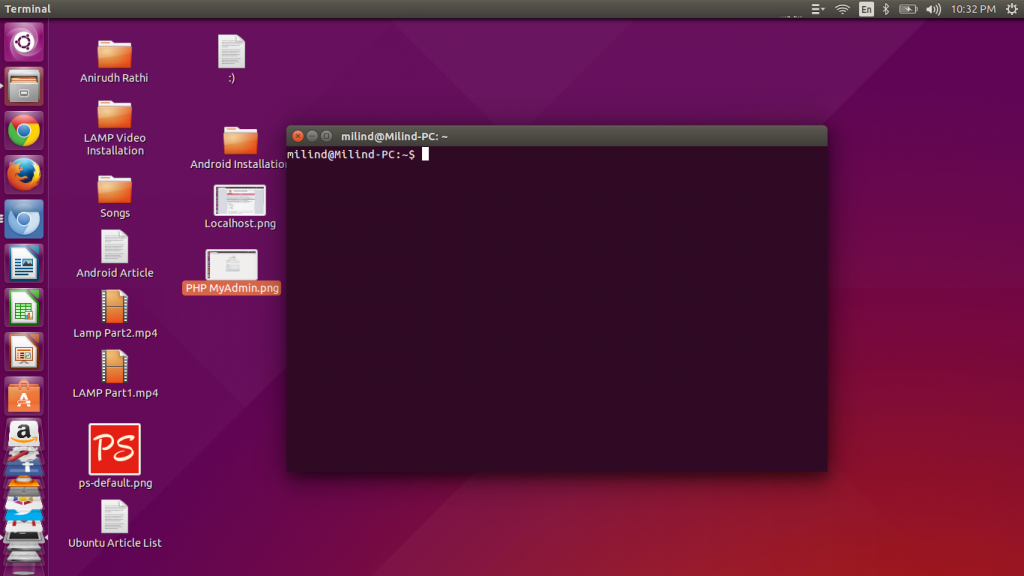
If we see the abbreviation of LAMP, it is made up of Linux, Apache, MySql and PHP. So we are going to install all these thing individually through some commands. What you have to do is just follow the steps one by one by triggering the command prompt.
Steps for installation of LAMP on UBUNTU :
- Step 1 : Apache Server Installation
sudo apt-get install apache2
- Step 2 : MySQL Installation
sudo apt-get install mysql-server
- Step 3 : PHP Installation
sudo apt-get install php5 libapache2-mod-php5
- Step 4 : Restart Apache Server
sudo /etc/init.d/apache2 restart
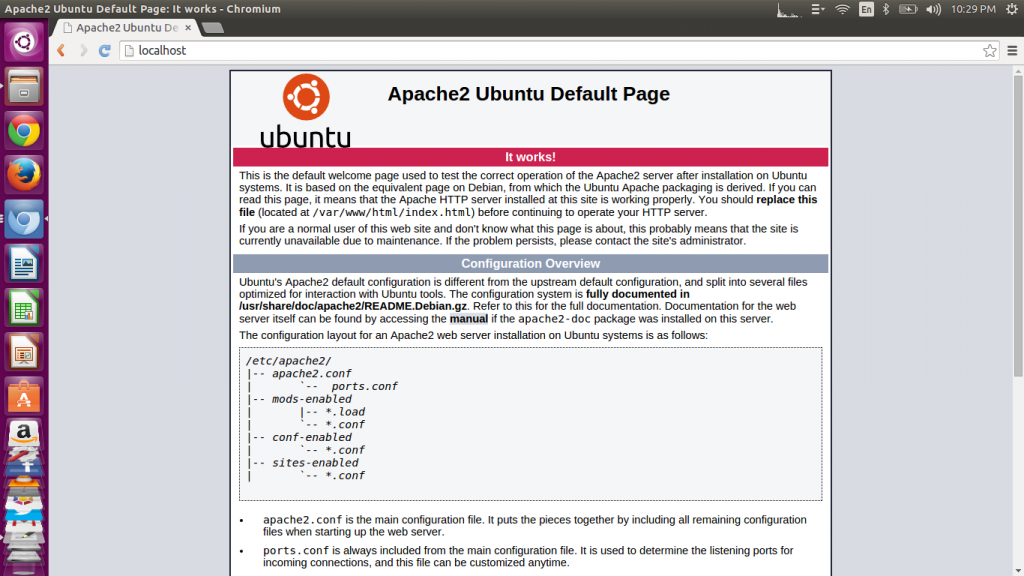
- Step 5 : Now Check You Apache : Open your browser and open the following link
http://localhost/
Apache Localhost - Step 6 : Now Check Your PHP : Open your Command Prompt follow the steps in which we are changing the permission’s of the /www directory. Creating a test directory and in that creating a index.php file.
cd /var/

sudo chmod -R 755 www
cd /www/html/
mkdir test
sudo gedit index.php
- Step 7 : Write some PHP code in index.php opened in gedit
<?php echo "Hello PHP"; ?>
- Step 8 : Now Check You PHP : Open your browser and open the following link
http://localhost/test/
After this all above steps you are able to use LAMP successfully but MySql will be accessed with the Command Prompt only using commands, if you are not familiar with it and want a graphical interface than you need to install PHP MyAdmin, for that follow the next step.
- Step 9 : PHP MyAdmin Installation
sudo apt-get install phpmyadmin apache2-utils
- Step 10 : Configure PHP MyAdmin with Apache : Configuring PHP MyAdmin with Apache through configuration file
sudo gedit /etc/apache2/apache2.conf
Add the following in the file after that save it and repeat Step 4 to restart Apache server.
Include /etc/phpmyadmin/apache.conf
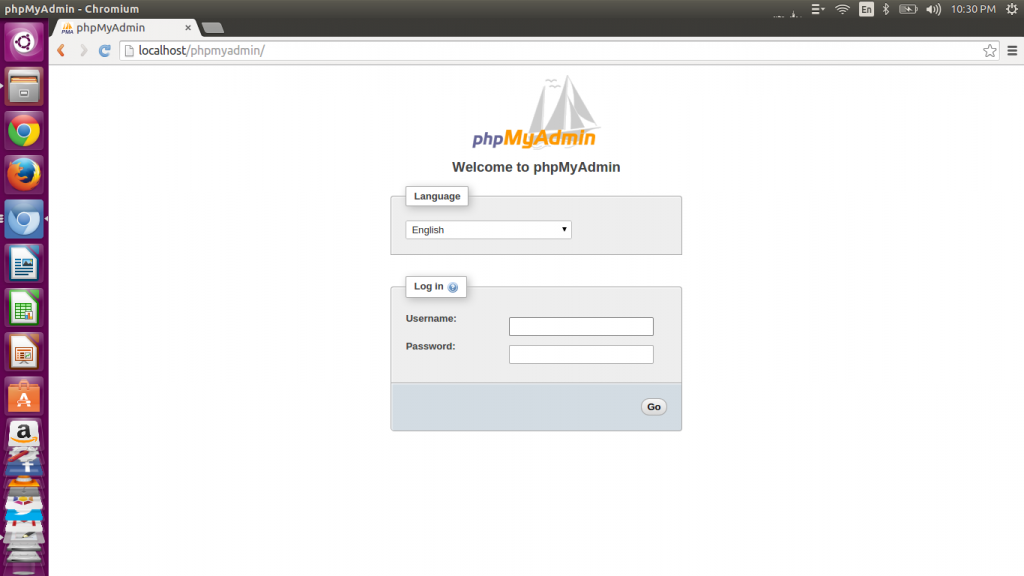
- Check the PHP My Admin through browser using the following link :
http://localhost/phpmyadmin/
So here we go, we have just complete the LAMP installation on UBUNTU. You can check all this step’s demonstration in the following video also :
If you face any issue feel free to contact me or comment in the comment box.
Enjoy LAMP on UBUNTU Now!
Don’t forget to #LIKE, #SHARE, and #SUBSCRIBE ?

Leave a Reply